Showing posts with label Hair. Show all posts

Monday, August 1, 2016

Hair Hack

By now, you've probably heard that coconut oil is a miracle beauty product (in addition to being useful in the kitchen!).  One of its many uses is as a leave-in conditioner for your hair,  I've done this before, and my favorite way to do it is to put a little bit on the ends of damp hair right before I blow dry it.  The key is to use A LITTLE BIT.  Well, last week I went a little overboard.  I ended up using way too much, and I brought it up to about my ear instead of just keeping it on the ends.  The result?  Stringy, greasy hair that looked like it hadn't been washed in a week.  I was so upset!  I typically only wash my hair twice a week, and with how much hair I have, washing it is a large undertaking.  I thought I'd have to wash it again, then I got an idea.  Fortunately, it worked.

All I did after blow drying my hair was use dry shampoo.  I put some on the roots as I normally do, and I sprayed it in the lengths of my hair as well.  It completely did the trick!  It absorbed all the greasiness, and my hair looked perfectly normal.  It's totally fine to put dry shampoo in the lengths of your hair--just make sure you rub it in really well so you don't see a white cast.  I found the best way to do this was to rub the hair in between my palms.  After doing this, I brushed it out to make sure it was evenly distributed.

So there you have it, a super random hair hack.  Hopefully you won't make the mistake I did of using too much oil, but if you do, give this a try!

Thank you for reading!
 photo a4b29d75-8d29-42de-b0b5-5faa7f59f9d3_zpse4a2d21e.jpg

Thursday, June 16, 2016

Beachy Waves for Summer

When it comes to hair, it's all about messy beachy waves this time of year.  This is one of my all time favorite hairstyles and one that I tend to rock even in the depths of winter.  After watching a video by MakeupbyTiffanyD on YouTube (click here to watch), I was inspired to try out a new (to me) technique.


Products, Tools, and Technique


While this can easily be achieved with a wand, I used my 1" Conair curling iron (mine is super old but still works great).  I always use some type of dry shampoo and/or texturizing spray on my roots and through the lengths of my hair to prep it and give it some grit. Garnier's Texture Tease is a great (and cheap!) option.  I did my curls the way I normally do (starting near the roots and leaving about an inch out at the ends).  Instead of curling every piece away from my face as I normally would, I curled the front pieces away but then alternated every other piece (one going away from my face, then one towards my face, etc).  I loved the result--this really did help to achieve more of a wave than a curl.  I also thought it added more volume and dimension and gave more of that messy, disheveled look I was after.  After letting my hair cool for a few minutes, I ran my fingers through the waves and pulled them apart/fluffed/tousled them.  I added a bit more texturizing spray for even more of an un-done look, then I finished off with some Flexible Control Hairspray by Garnier.

If you're looking for a way to get beachy waves, I'd recommend watching Tiffany's video and trying this technique.  You can always try it and do little things and tweak it to make it your style.  

Thanks for reading!
 photo a4b29d75-8d29-42de-b0b5-5faa7f59f9d3_zpse4a2d21e.jpg

Saturday, March 5, 2016

Training Your Hair/Changing Your Part


Moving your part is a fun way to change around your look.  After 15+ years of parting my hair to the left, I decided it was time to change it up.  I'm not sure what exactly inspired me to do it, but I thought I'd try parting my hair down the middle to see how it looked on me.  Training my hair to part down the center has taken a lot of patience, but three months later, I think my hair has finally gotten the hang of it.  If you are looking for some tips on training your hair to part either on a different side or down the center, here are a few words of wisdom that may help you out.

Part It Right After You Shower
After you wash your hair and take it down from the towel, comb through it and immediately part it where you want it.  This will help your hair to dry in the right position.  You can use a rat tail comb to get an even part.  More often than not, I just use my pinky finger.

Direct The Heat From Your Blow Dryer
This is very important and is something I was doing wrong initially.  When you're trying to train your hair for a new part, DO NOT flip your head over to blow dry it!  Doing so makes it harder to get it to part back in the right spot and creates lots of flyaways at the front of your part.  Instead, point the nozzle of the dryer down and direct the heat downward from the front of the part.  Use your fingers to help smooth the hair down as you dry it.

Use Product To Tame Flyaways
I tried using hairspray, serum, and a few other products, but Big Sexy Hair's Big Boost styling cream is my favorite.  It provides light hold but is not shiny or heavy.  I found that the hairs at the front of my part wanted to go in every direction because it wasn't used to parting down the middle.  This stuff really helped to keep it under control.  Clear brow gel also works and is a great on-the-go solution since it's easy to keep in your purse.

Sleep With Bobby Pins
I got this very helpful tip from my hairdresser.  I would also keep them in my hair at home during the day or in the car (and I'd take them out before getting out of the car).  Not only does this help to direct the hair, but it also helps to keep the flyaways at bay.

Be Patient!
Successfully re-training your hair is not something that will happen overnight.  As I mentioned earlier, it took my hair about three months to learn the center part.  It requires extra maintenance, and you will also have more volume on one side than the other for a while.  But these little annoyances will all go away eventually, and it's worth it in the end.  I am loving my new center part and think I'll keep it for a long time.

I hope this was helpful, and please share your tips with me if you've changed your part!

 photo a4b29d75-8d29-42de-b0b5-5faa7f59f9d3_zpse4a2d21e.jpg

Tuesday, November 3, 2015

Current Hair Favorites/New(ish) Hair Cut

One of my favorite things about hair is versatility.  Between cutting, coloring, texturizing, and styling, there are so many fun ways to change up your look with your hair.  I hadn't had short hair since 2010, and I decided it was time for a change and that I was tired of it taking so long to wash, dry, and style my hair.  About a month ago, I chopped it off.  I was inspired by one of my favorite YouTubers, Michele1218, who cut her hair over the summer.  She described her cut as a blunt cut with no layers.  I thought it looked so adorable and fun yet so grown up and sexy at the same time.  I don't even know how many inches my stylist took off--I just showed her a picture of Michele and asked her to duplicate it.  Because my hair is so thick, we altered it just a bit by adding a couple blunt layers and making it basically a long A-line bob (longer in front with a couple shorter blunt layers in the back).  It ended up being a little  longer than shoulder length, and I was (and still am!) very happy with it.  She didn't touch the color, and I still have a little bit of balayage left at the ends.

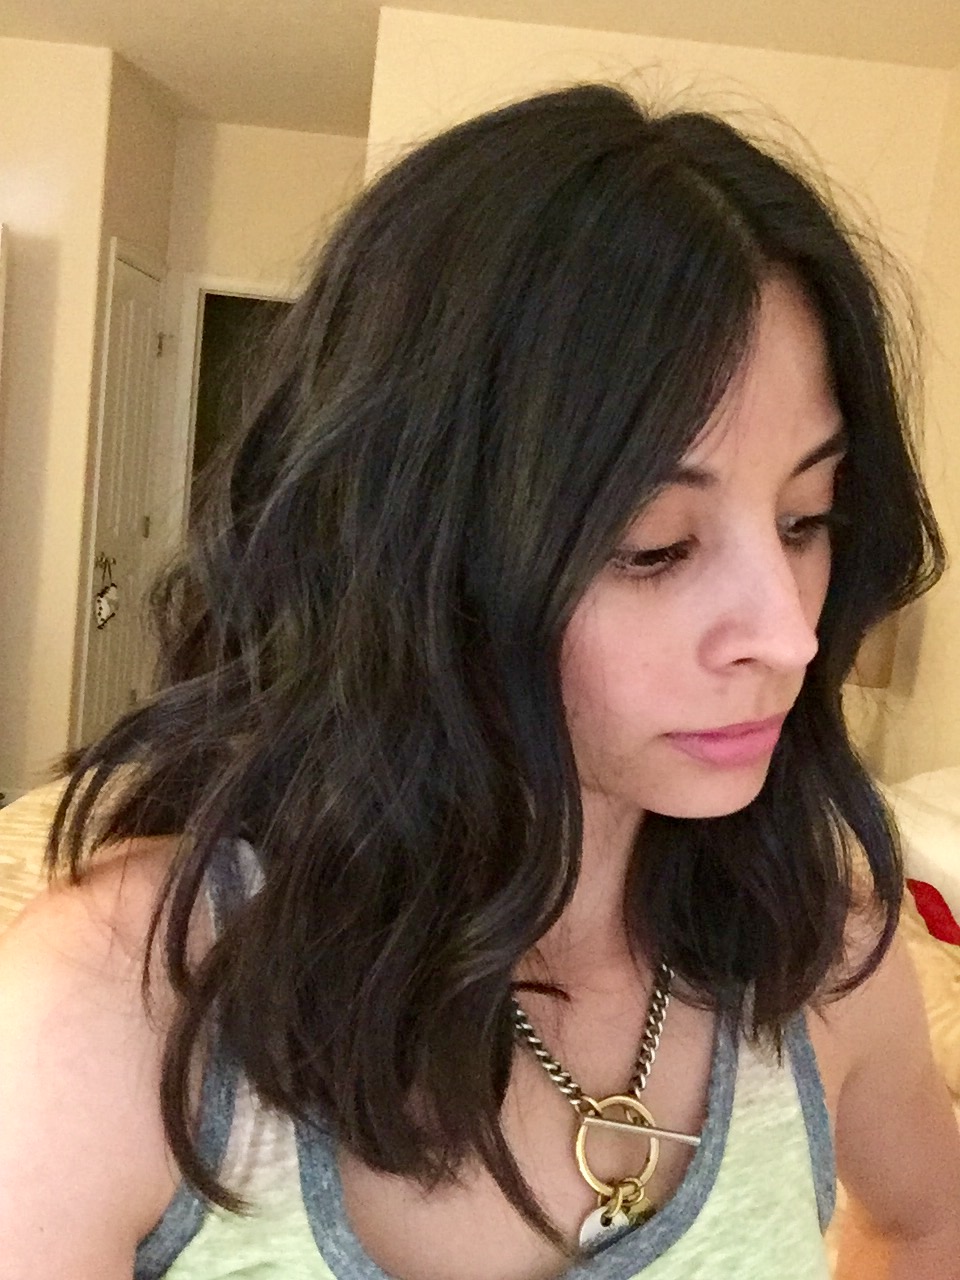
Fresh out of the salon.  This was a little over a month ago, and you will see from the more recent pictures below that my hair has gotten a bit longer since then. 

Styling       
As I mentioned above, I love the cut; however, learning how to style it to my liking took a little bit of time.  I thought I would need a smaller wand to curl it since it was shorter, but when I tried that, it ended up looking way too curled (too "done" and not effortless enough) and a bit poofy.  I believe the bluntness of the cut is what took me so long to get used to, as that is what caused the poofiness with the smaller wand.  I was also having trouble getting the curls to lay right and found that some pieces at the back stuck out and looked kind of funky.  After many trials and tribulations, I finally figured out the best way to curl it was with the same tool I used with my longer hair, a clipless, tapered wand with a barrel width of 3/4" to 1 1/4".  The one I have is the Conair You Curl Styling Wand XL.  I was pretty good at curling my long hair with it and never needed to use the protective glove.  With my shorter hair, I always use the glove because I wrap more of the ends around it than I did with longer hair.  Also, with less hair, it's a bit harder to control, and there's more room for error (ie: it's easier to burn your hand).

Straightening my hair is easy and didn't really take any getting used to--I pretty much do it exactly the same as I did with long hair.  The iron I have is the Ultra Chi 1" Ceramic Flat Iron.  I've had this for a few years, and I love it.  I had a Chi before this one that died.  Hopefully it won't, but if this one dies, I think I want to try a GHD iron.

Freshly washed and straightened


One day old curled hair

Two day old curled hai
With this hair cut, I like wearing it curled and straightened equally.  The curled look is a little more fun/messy, whereas the straight look is a lot more polished and sleek.  It just depends on what I'm in the mood for.  Curling it also stays looking good longer--I almost like it more a day or two after washing and styling it.

Products   


I've been loving Living Proof's Perfect Hair Day 5-in-1.  I use it from roots to ends in damp hair right before I blow dry.  It smells good, and I actually think it does extend my style.  I only wash my hair twice a week, and using this product keeps it looking good basically up until it's time to wash again.  It doesn't weigh my hair down and adds a little volume.

Another new favorite is Garnier's Texture Tease Spray.  I had been wanting to try Bumble & Bumle's Thickening Dryspun Spray, but it's pricey, and I couldn't bring myself to purchase it without researching dupes first.  I dug around and found that the Garnier texture spray was a good dupe for about one tenth of the price.  I'm happy I found this!  It smells great like all Garnier products.  After I wash and style my hair, I like to lift up my roots and spray it all over my crown, then I lightly massage it in.  I also use it through the lengths of my hair.  My hair is naturally very smooth and silky, and I need some texture to make it look and behave the way I want it to.  This product helps me  to achieve my desired texture.  It doesn't soak up oil like a dry shampoo, but I use it between shampoos to make sure my hair has some grittiness to it--this is especially useful when putting my hair in a messy bun.

Speaking of dry shampoo, you will never find me without one in my arsenal.  Over the years, I have tried many different brands and am completely dependent on the stuff.  The trick with dry shampoo is to make sure you let it sit in your hair before you massage it in--this is what allows it to do its job and soak up excess oil.  I let mine sit anywhere from five to 10 minutes before working it in with my hands.  A lot of brunettes are afraid of dry shampoos that leave white casts (and most do), but if you rub it in well enough, it won't be a problem.  I have found several dry shampoos I like.  Right now, I have Not Your Mother's Clean Freak Dry Shampoo, and I really like it.  It does a good job of absorbing oils and has a nice citrusy smell.  If you have ever used Batiste's Original Dry Shampoo, it smells and feels almost the exact same.  Dry shampoo is great for adding texture as well, and before I discovered the above mentioned Garnier product, I would use dry shampoo as my texturizer.  I would even use it on freshly washed hair.  If you only want to have one product between this and a texturizing spray, opt for the dry shampoo.

I hope this post inspires you to do something new and fun with your hair.  Thanks for reading!

 photo a4b29d75-8d29-42de-b0b5-5faa7f59f9d3_zpse4a2d21e.jpg

Tuesday, August 27, 2013

Conair Hot Rollers

Lately, I've been getting a little bored with my hair.  My go-to style this summer has been au naturale.  I wash my hair at night, air dry it, and wake up to a mess in the morning. 


I either accept the fact that I look like a lion or put up in a bun.  It's time to crank it up a notch.  I looked through my cabinet of styling tools and decided to go with my Conair Xtreme Big Curls Hairsetter.  This set comes with 12 rollers (1.5"), and I got mine at Ulta for $30.


I thought I'd try a different technique this time.  You're probably wondering what I mean by a different technique--isn't there only one way to put in hot rollers?  I thought so too, until I came up with the idea to try something completely different that I've never heard anyone mention.

Rather than starting the rollers at the ends of various sections of my hair and rolling them to my scalp, I started the rollers in the middle of whatever piece of hair I was curling.  I held the curler in place with my left hand, then I took the rest of my hair (whatever was below the middle point where the roller was placed) and rolled it around the curler.  This is similar to the technique you would use when you're wrapping your hair around a curling iron with your hand trying to get more of a wavy look than spiral curls.  I then used both hands to keep the hair around the curler and roll it all the way up to my scalp before clipping it in place with these clips (which I would definitely recommend over the cheap metal pieces that come with the set).  I got mine for $10 for a set of 12 at Ulta.  I repeated this process around my whole head and left them in for about 15 minutes.


Here's the final look.  I liked it but didn't love it--I usually like my curls to be a little bit looser.


So I went in and... messed it up a little.  I ran my fingers through it and used my hands to shake out the curls a bit.  I also figured that the curls would fall throughout the day.  After messing with them and giving them about half an hour to fall, this is what they looked like.  Much better.


I was happy with the style after letting it fall a bit.  It's different than when I use a curling iron, but there are some things I like more about them. They're quick and easy, and while they're setting, you can do your makeup or try to get something else done.  They also give you nice volume.  If you like your curls tighter, try going for smaller rollers.  Give this a try, and let me know what you think!